먼저 postgreSQL을 설치하자.
PostgreSQL: Windows installers
Windows installers Interactive installer by EDB Download the installer certified by EDB for all supported PostgreSQL versions. Note! This installer is hosted by EDB and not on the PostgreSQL community servers. If you have issues with the website it's hoste
www.postgresql.org
위 링크로 이동.

빨간 박스 부분을 클릭한 뒤, OS에 맞게 다운로드 하자.
<MacOS>

다운 받은 dmg파일을 실행한다.
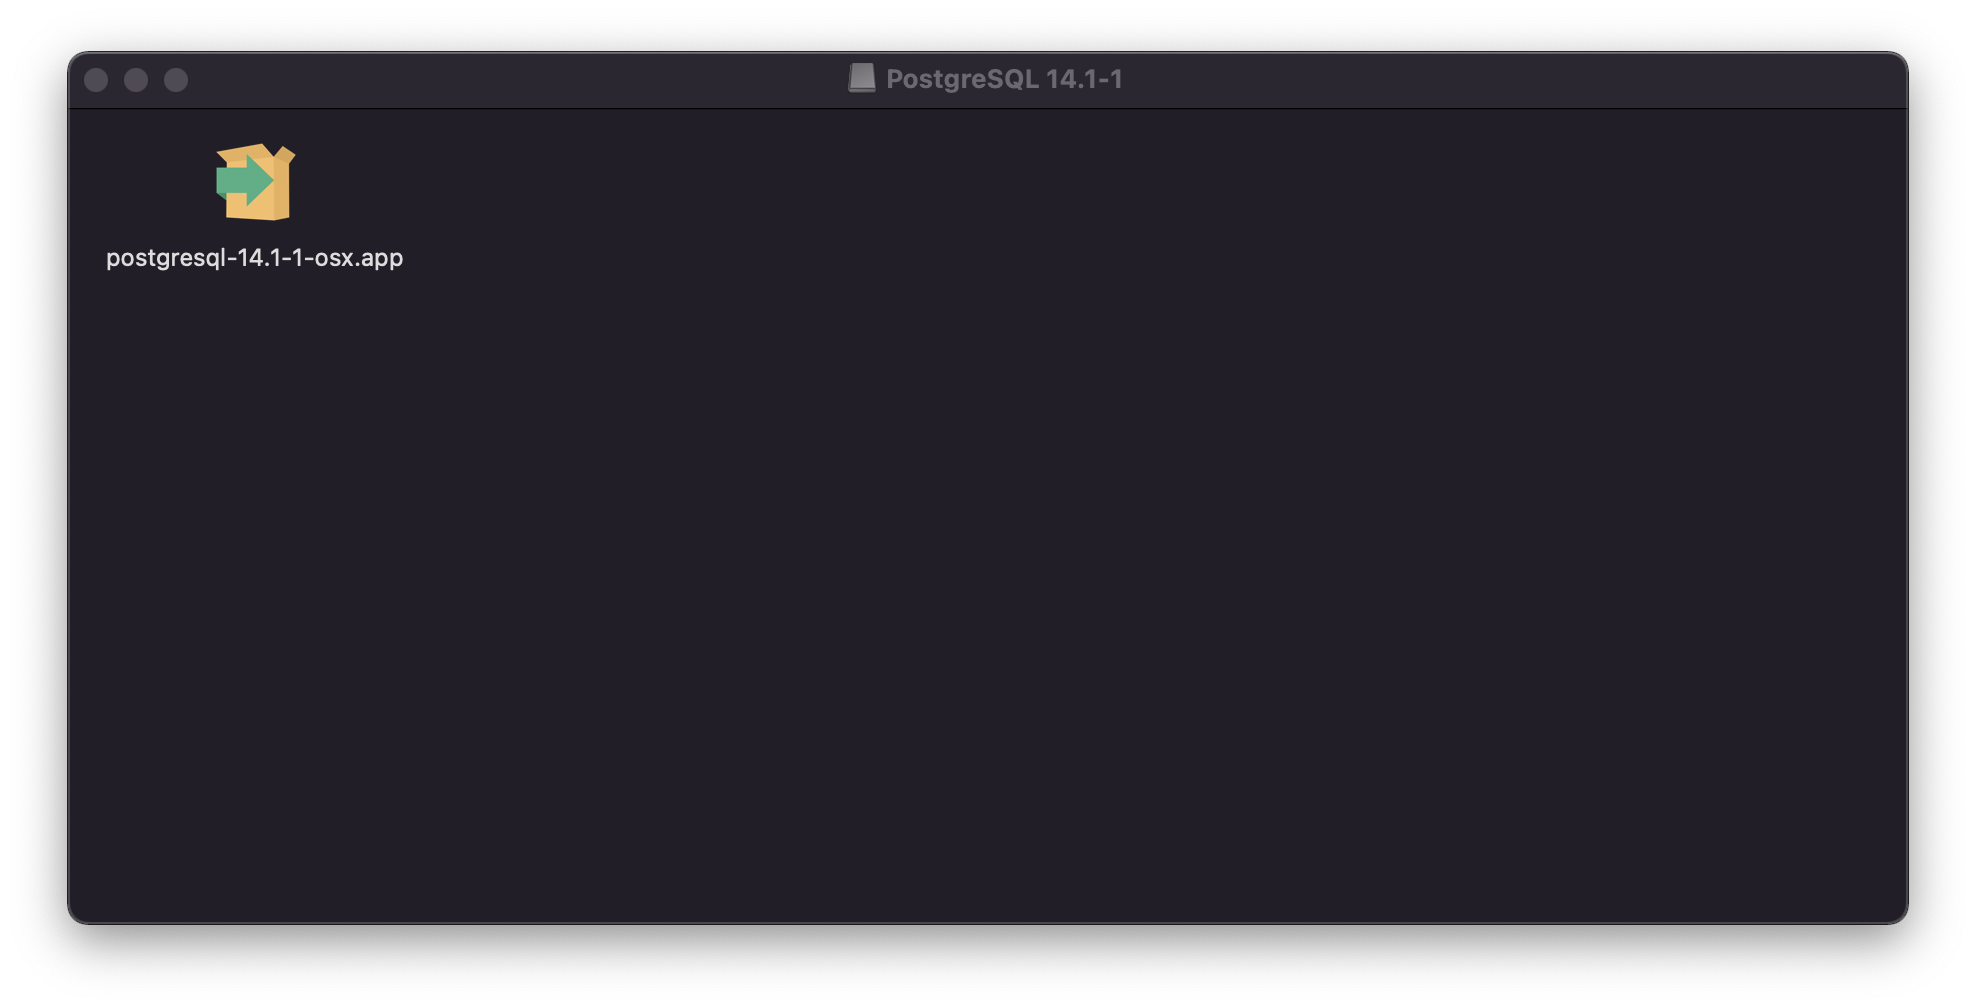
.app 파일을 실행한다.
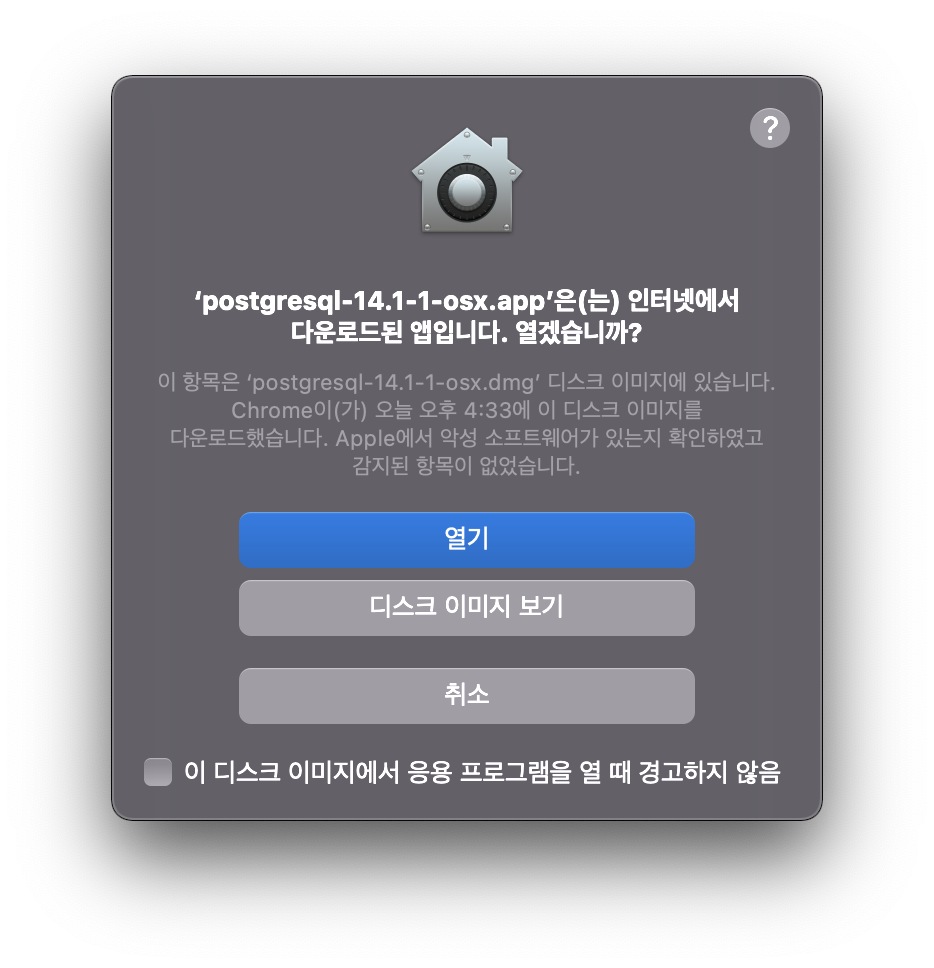
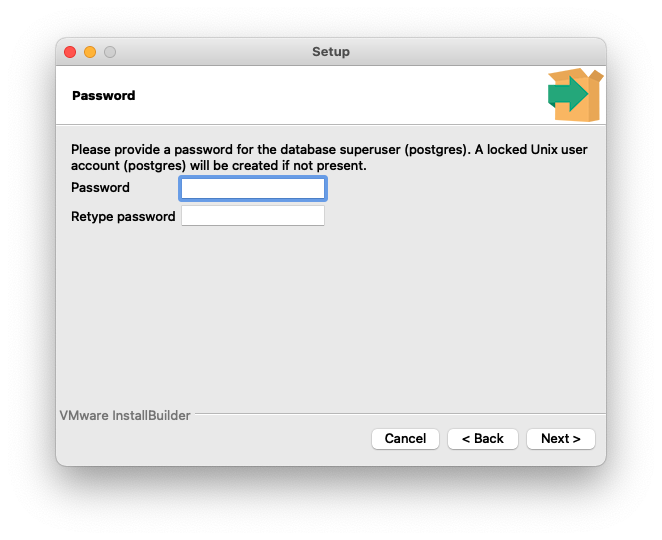
열기 버튼 클릭 → 사용자 암호 입력 후 설치 진행.


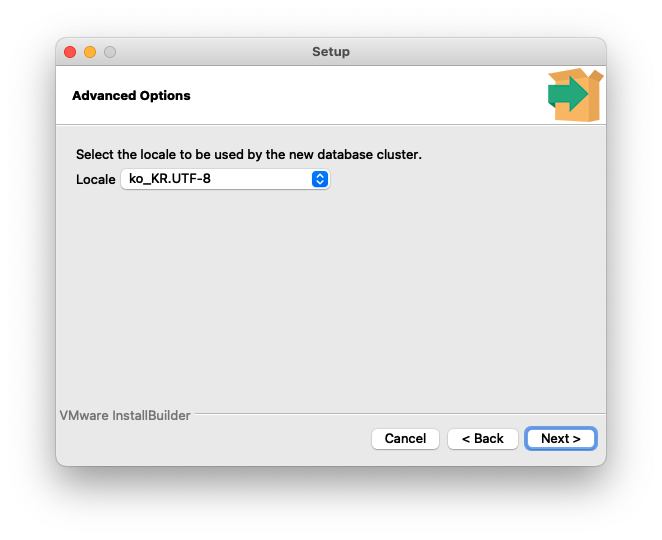

이후 응용프로그램에 PostgreSQL 폴더가 생성된 것을 볼 수 있다.
<Windows>
python으로 postgreSQL을 연동하려면 psycopg2 패키지를 설치해야 한다.
<설치>
pip install psycopg2
<DB 연결>
import psycopg2

conn = psycopg2.connect(host='localhost', dbname='postgres', user='postgres', password='1234', port=5432)
host : postgreSQL 서버 ip.
dbname : 연결 할 postgreSQL 데이터베이스 이름.
user : postgreSQL에 접속할 유저.
password : 접속 할 유저의 비밀번호.
port : postgreSQL 서버 포트 (기본값: 5432)
<데이터베이스 생성>
import psycopg2

conn = psycopg2.connect(host='localhost', dbname='postgres', user='postgres', password='1234', port=5432)
cursor = conn.cursor()

sql = "CREATE DATABASE testdb"
cursor.execute(sql)  # 쿼리 실행

conn.commit()  # 커밋
cursor.close()
conn.close()
<테이블 생성>
import psycopg2

conn = psycopg2.connect(host='localhost', dbname='testdb', user='postgres', password='1234', port=5432)
cursor = conn.cursor()

sql = """
CREATE TABLE Cars(
    id INTEGER PRIMARY KEY,
    Name VARCHAR(20),
    Price INT
);
"""
cursor.execute(sql)  # 쿼리 실행

conn.commit()  # 커밋
cursor.close()
conn.close()
<INSERT>
아래와 같이 cursor.execute에 쿼리문을 직접 넣어주는 것도 가능하다.
import psycopg2

conn = psycopg2.connect(host='localhost', dbname='testdb', user='postgres', password='1234', port=5432)
cursor = conn.cursor()

cursor.execute("INSERT INTO Cars VALUES(1, 'Audi', 52642)")  # 쿼리 실행
cursor.execute("INSERT INTO Cars VALUES(2, 'Mercedes', 57127)")  # 쿼리 실행

conn.commit()  # 커밋
cursor.close()
conn.close()
<SELECT>
import psycopg2

conn = psycopg2.connect(host='localhost', dbname='testdb', user='postgres', password='1234', port=5432)
cursor = conn.cursor()

sql = "SELECT * FROM Cars"
cursor.execute(sql)  # 쿼리 실행

results = cursor.fetchall()  # SELECT 결과를 모두 가져온다(fetchall()).

conn.commit()  # 커밋
cursor.close()
conn.close()
postgreSQL 명령어 정리
- 로그인
psql -U [USER_NAME] -d [DB_NAME] - 유저 리스트 확인
\du - 데이터베이스 목록 확인
\list
\l
\l+ (상세조회) - 사용할 데이터베이스 변경
\c [DB_NAME] - 사용중인 데이터베이스의 Relation(table) 목록
\dt - 사용중인 데이터베이스의 Sequence 목록
\ds - 사용중인 데이터베이스의 Function 목록
\df - 사용중인 데이터베이스의 View 목록
\dv - 특정 Relation(table)의 상세 정보 조회
\d [TABLE_NAME] - 바로 이전에 실행 했던 명령어 실행
\g - 이전에 실행 했던 명령어 history 조회
\s - 도움말 조회
\h
\? - Column을 세로로 조회. (SELECT 결과가 세로로 출력)
\x - Column Align을 켜고 끈다. (기본값 : on)
\a - Column 명, 결과 값을 HTML Table 형식으로 보여준다.
\H - Query 실행 시간 표시
\timing - 외부 파일을 통한 Query 실행
길고 복잡한 Query 같은 경우 외부 편집기에서 Query를 작성한 후에 실행하는 것이 편하기 때문에, 파일이 쓰여진 Query를 실행하는 명령어이다.
\i [FILE_NAME] - 외부 편집기를 통해 Query를 작성해서 실행할 때 사용한다. (리눅스는 vi, 윈도우는 메모장이 기본 에디터이다.)
\e [FILE_NAME] - \e와 유사하나 function 편집 때 사용한다는 측면에서 다르다.
\ef [FUNCTION_NAME] - \e의 view 버전
\ev [VIEW_NAME] - shell command를 실행할 때 사용한다.
(주로 화면을 지우거나 \i, \e를 위해 현재 경로에 있는 파일 list를 조회하거나 path를 변경할 때 사용
\! : [SHELL_COMMAND] - psql 종료
\q
'Python' 카테고리의 다른 글
| [Python] type()과 isinstance()의 차이 (0) | 2023.08.23 |
|---|---|
| [Python] requirements.txt에 링크 넣기 (0) | 2023.06.07 |
| [Python] Private PyPI Server 구성하기 (0) | 2022.04.28 |
| [Python] PyPI 패키지 만들기 및 배포 (0) | 2022.04.27 |
| [Python] 다른 경로에 있는 폴더/파일 import 하기(__init__, __all__) (0) | 2022.02.11 |